
Easy window maintenance and an effective caulking job can shield your home against moisture, drafts and heat leakage for a considerable number of years. Accomplishing this task now will make the transition to “cool season-mode” much easier.
Look at these simple caulking mistakes so you can be sure to dodge them in advance to running to the hardware store more than once.
1. Choosing the right caulk
As with most everything, you get what you pay for. Caulk is no different. For durable insurance around your windows, choose a high quality caulk containing silicone or polyurethane.
100% silicone caulk or a mix of silicone and latex is airtight (preventing water leakage), flexible, shrink-proof and will last over 20 years. The drawback of silicone caulk is that it cannot be painted and can give off a substantial odor as it dries.
Polyurethane caulk can last from 10 – 20 years. Unlike silicone, it can be painted over and adheres well. Polyurethane spray foams are durable and tend to expand as they dry. This is a standard option for exterior window caulking.
Cheaper options such as butyl rubber or oil or resin based caulks aren’t normally as flexible and won’t adhere to surfaces for a sustained period. Persevere through the urge to save money on caulk.
2. Properly removing old caulk
Caulk turns stiffer as it ages, ordinarily splitting away from its surface leaving precipitation to collect underneath. Inadequately removing old caulk leaves you at risk of old moisture and debris on the surface of the window. Eliminate the chance of old caulk ruining your new work by using a putty knife or sharp tool to remove it.
To remove further leftover caulk, apply a caulk remover gel. Follow directions, typically leaving it on 2 – 3 hours to breakup caulk before scraping. Make sure surface is clean and dry before caulking by cleaning with rubbing alcohol or a household cleaner.
To find out if there are any hidden cracks, try the smoke test. Typically, people use a burning stick of incense facing the perimeter of a window. The smoke will be blown out if there’s a draft! If not, it will ascend as typical of smoke.
3. Application
The tube of caulk bought from a store was not created for direct application. You’ll need a high quality caulking gun to dispense it appropriately. Most people prefer when they are working, having shopped for a comfortable grip and a smooth rod dripless caulk gun.
Less expensive guns that use a ratchet rod distribute caulk haphazardly, creating a messier work area. Seal cracks with caulk with an even, steady strength. Be sure to hold caulking gun at a 45-degree angle.
4. Use the correct amount of product
If the crack you’re sealing exceeds 1/2 inch wide or 1/2 inch deep, don’t be inclined to candidly add more caulk. Rather, fill the difference with a slice of foam rope before caulking over.
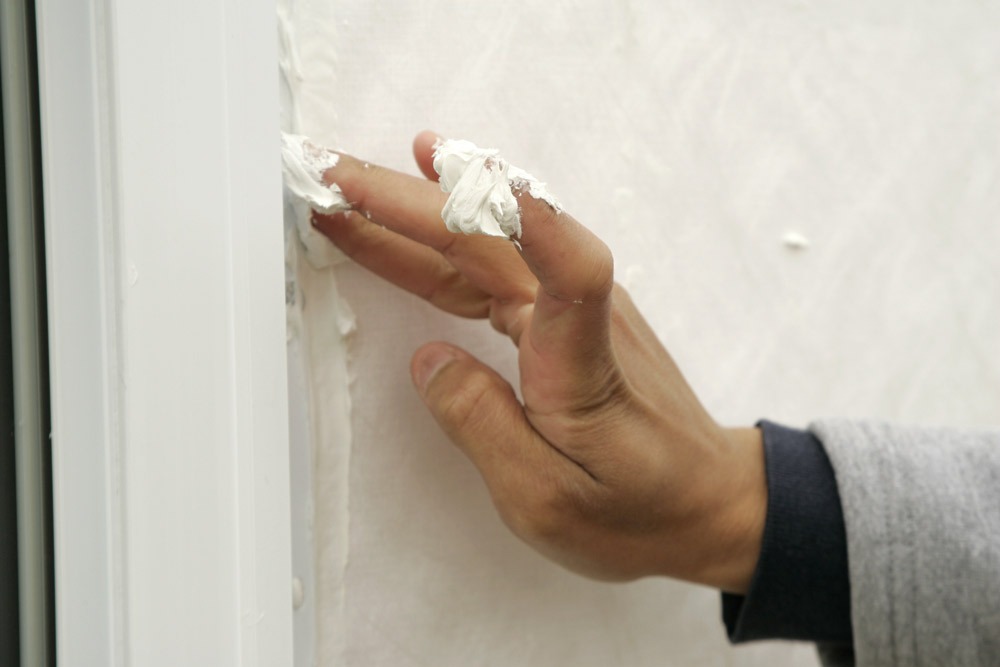
5. Finishing touches
Tooling is the process of smoothing out caulk after it’s been applied. This critical step assures your job is satisfactory and looks sleek. Fingers are usually the perfect utensil to use for this step. Apply a bead of caulk and trace your finger along the bead to ensure it fills the gap.
Dip your finger in soapy water before tooling to make sure your skin doesn’t grab the caulk, or use an ice cube.
Maintaining your windows is one way to secure your home stays in top notch condition through the seasons and the years. Now is a great time to begin extra maintenance procedures, and whether you don’t have the time or the knowledge, we are here to help! Contact us or call today at 719-380-9371 and we’ll get your windows where they need to be so you can enjoy letting the fresh air in!