
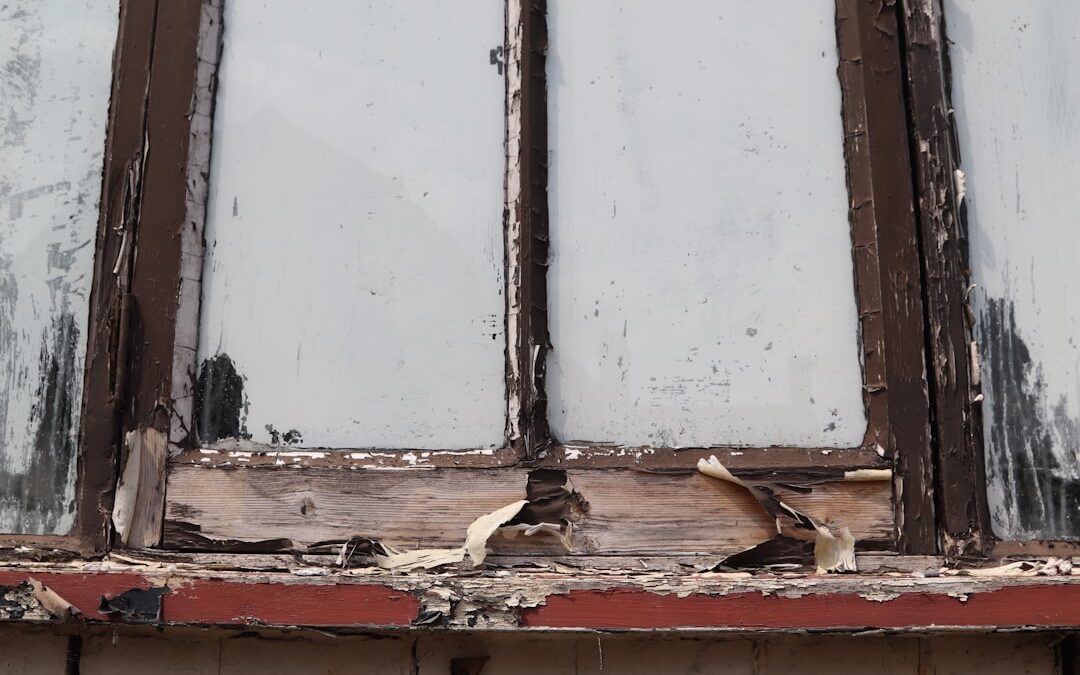
A Broken Window Pane Doesn’t Have to Break the Bank
How to replace a window pane in a wooden frame is something most Colorado Springs homeowners can tackle themselves — and save hundreds of dollars doing it.
Here’s the quick version:
- Tape an X over the broken glass with duct tape
- Remove the broken glass, old glazing compound, and glazing points
- Measure the opening and order new glass 1/8 inch smaller in each direction
- Prep the rabbet groove — clean, sand, and seal with linseed oil
- Bed the new pane in glazing compound and secure with glazing points every 6–8 inches
- Apply a smooth 45-degree bead of glazing compound around the edges
- Paint after 7–14 days of curing, overlapping slightly onto the glass to seal against moisture
Difficulty: Intermediate. Time: Under 2 hours. DIY materials cost: $20–$50.
The savings are real. One homeowner reported paying just $120 for glass and supplies — compared to nearly $500 for a professional service call.
That said, there’s more to it than the quick steps above. Wood frames vary a lot — especially in older Colorado Springs homes — and getting the details right is what separates a lasting repair from one that fails in a season.
I’m Michael Smith, owner of Complete Window Care and an AAMA-certified window installation instructor with over 18 years of hands-on experience helping Colorado Springs homeowners understand exactly how to replace a window pane in a wooden frame — and when it makes more sense to call a pro. Let’s walk through everything you need to know.
Essential Tools and Safety for Window Pane Replacement
Before we pick up a hammer, we need to talk about protection. Working with glass is inherently risky, but with the right gear, it is perfectly manageable. In our years serving the Pikes Peak Region, we’ve seen that the biggest mistakes happen when DIYers rush the preparation.
First, you need cut-proof gloves and safety goggles. Standard gardening gloves won’t cut it; you need something rated for glass handling. If the pane is already shattered, use heavy-duty duct tape to create an “X” pattern across the cracks. This keeps the shards from falling out unexpectedly while you work.
Your Glazier’s Toolkit
To do the job right, gather these essentials:
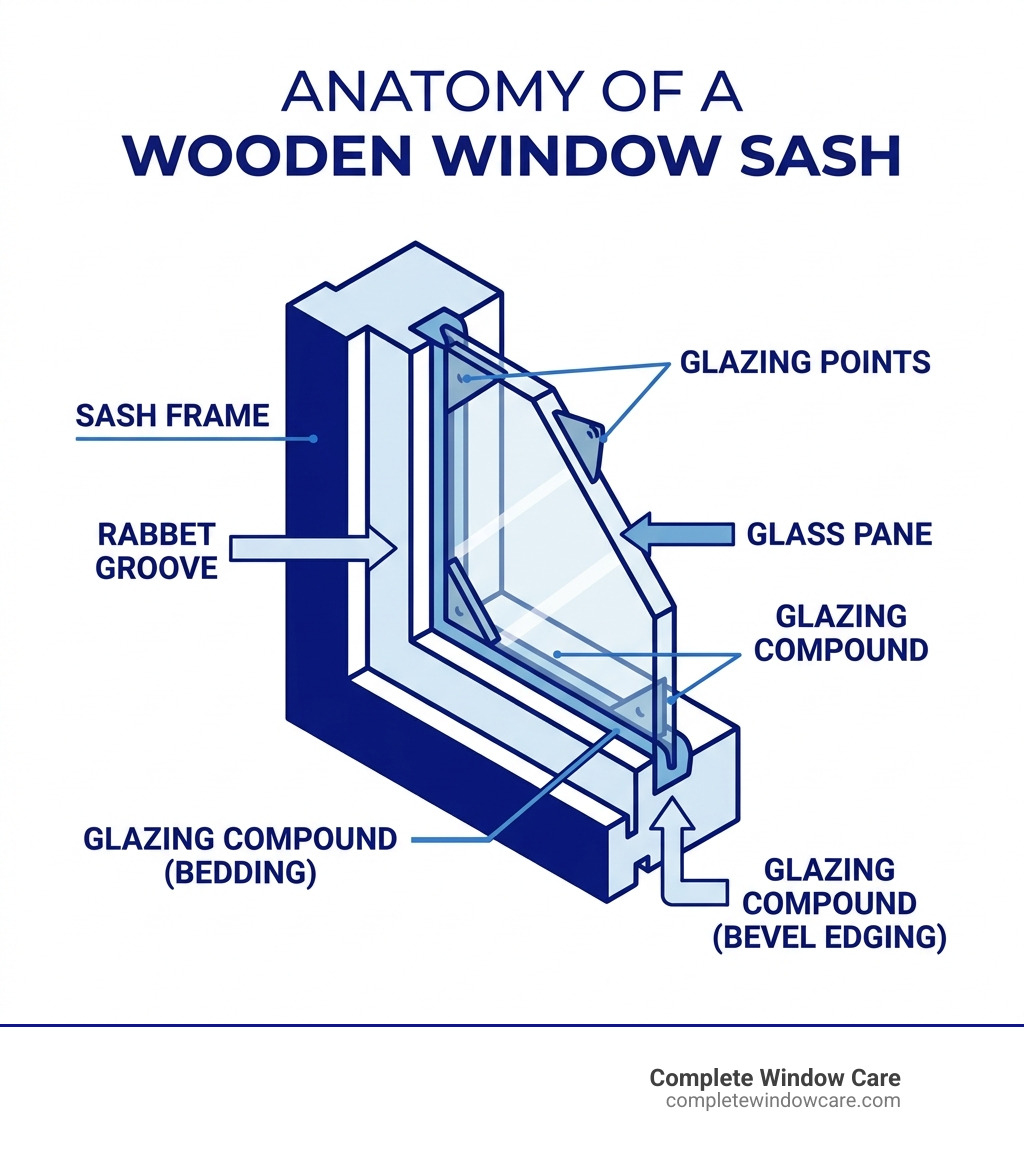
- Putty knives: A stiff one for scraping and a flexible one for smoothing.
- Glazing points: These small metal triangles are the “nails” that hold the glass in place.
- Heat gun: Essential for softening old, rock-hard putty without splintering the wood.
- Boiled linseed oil: A pro secret for conditioning old wood frames.
- Small hammer or glazing tool: To drive the points.
- Measuring tape: For precision (we’ll explain why 1/8 inch matters later).
For a deeper dive into protecting yourself and your home during this process, check out our guide to safe window pane replacement at home.
How to Replace a Window Pane in a Wooden Frame: Step-by-Step
Once you’re geared up, it’s time to get to work. If possible, remove the window sash (the movable part of the window) and lay it flat on a workbench. It is much easier to apply putty horizontally than fighting gravity on a vertical frame.
Step 1: Glass and Putty Removal
Using your putty knife, start prying away the old glazing compound. In many older Colorado Springs homes, this putty has been there for decades and is as hard as concrete. This is where the heat gun shines. Carefully warm the putty to soften it, then scrape. Pro Tip: If there are other glass panes nearby, shield them with a piece of aluminum foil or metal flashing to prevent “thermal shock” cracks from the heat.
Once the putty is gone, use pliers to pull out the old glazing points. Carefully lift out the glass shards and dispose of them in a sturdy box or wrap them in several layers of newspaper.
Step 2: Cleaning the Rabbet
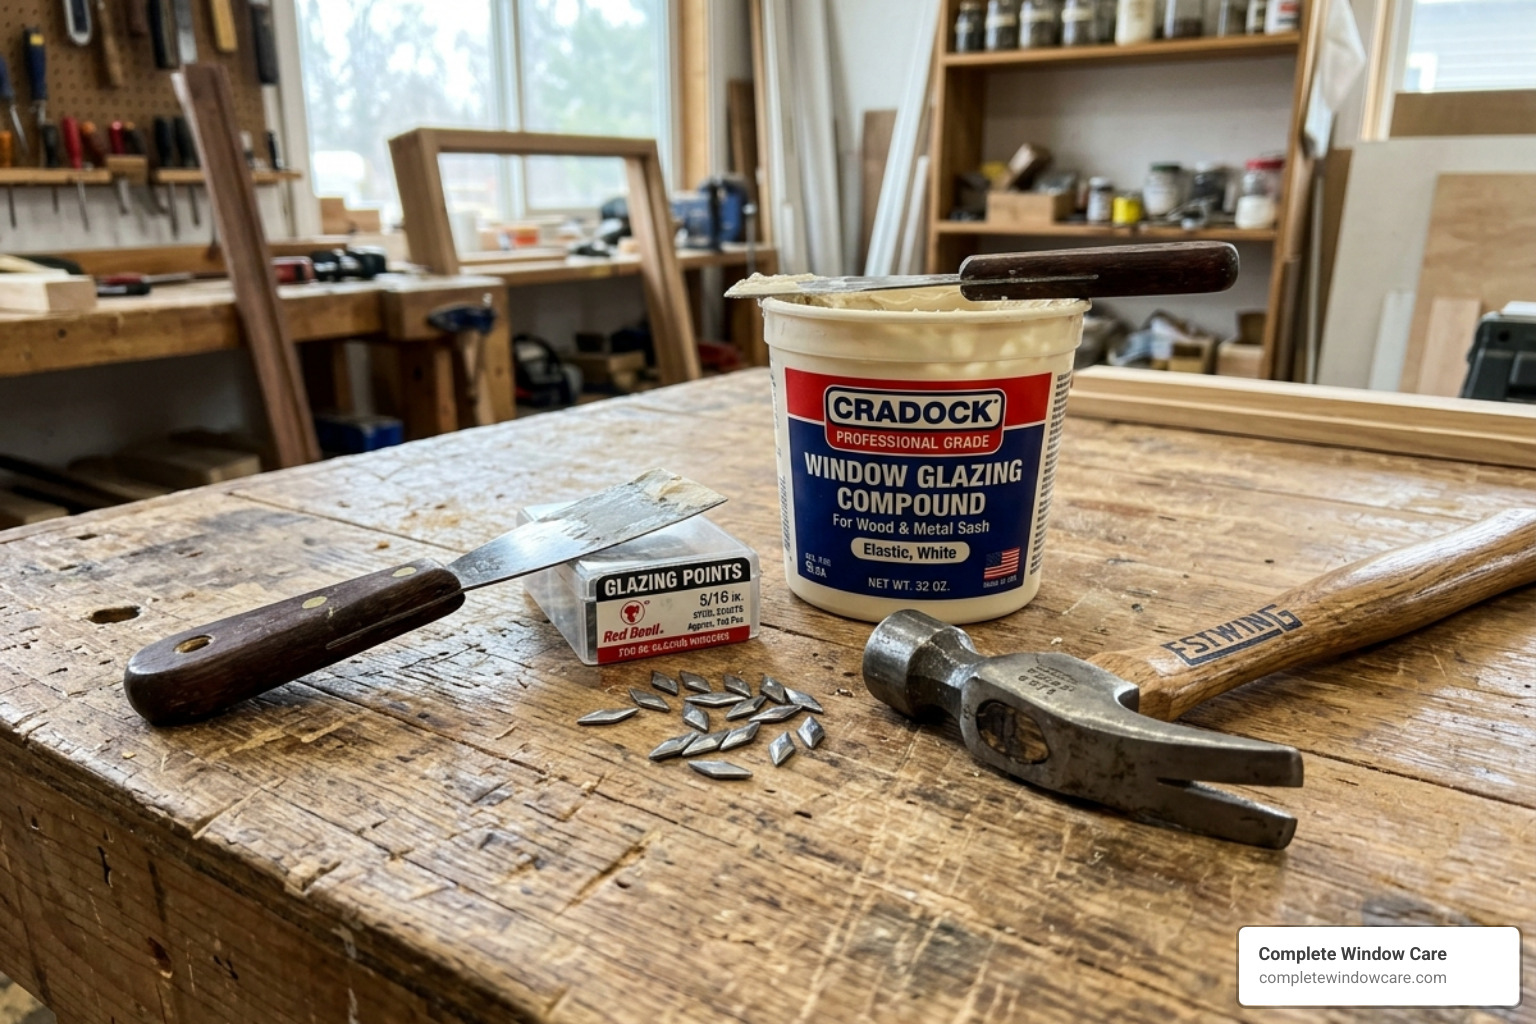
The “rabbet” is the L-shaped groove where the glass sits. Use a wire brush or sandpaper to clean this area down to bare wood. If you see minor rot or cracks, now is the time to apply a wood hardener or epoxy filler.
Finally, brush the bare wood with boiled linseed oil. This prevents the dry wood from sucking the oils out of your new putty, which would cause the putty to dry out and crack prematurely. If you want more photos and detail, you can compare this process with our full window glass installation walkthrough.
| Window Type | DIY Cost (Est.) | Professional Cost (Est.) |
|---|---|---|
| Single Pane Glass | $20 – $50 | $150 – $300 |
| Insulated Glass Unit (IGU) | $100 – $250 | $350 – $600+ |
Measuring for how to replace a window pane in a wooden frame
Measuring is the most critical part of how to replace a window pane in a wooden frame. Wood expands and contracts with the wild temperature swings we get here in Colorado. If the glass is too tight, the frame will squeeze it until it cracks.
Measure the height and width of the opening (inside the rabbets) to the nearest 1/16 inch. Then, subtract 1/8 inch from both the total height and total width. This provides a 1/16-inch expansion gap on all four sides.
Final glazing steps for how to replace a window pane in a wooden frame
- The Bedding Bead: Apply a thin “rope” of glazing compound into the corner of the rabbet. This creates a weather-tight seal between the glass and the wood.
- Setting the Glass: Press the new pane firmly into the bedding bead until it is centered. You should see a little putty squeeze out on the other side.
- Driving Points: Place glazing points every 6 to 8 inches. Use your putty knife to slide them flat against the glass and push them into the wood. They should hold the glass tight enough that it doesn’t rattle.
- The Finish Glazing: Roll a handful of compound into a long rope (about 1/2 inch thick). Press it into the corner and use your putty knife at a 45-degree angle to smooth it out. The goal is a neat, beveled edge that meets the edge of the wood and the glass perfectly.
Pro Tips for Glazing and Finishing Your Wood Frame
Achieving that “pro” look comes down to the finish. After you’ve smoothed the putty, you’ll likely have an oily film on the glass. You can clean this off with a little whiting powder or a soft cloth, but be careful not to touch the fresh putty.
Curing Time
Patience is your best friend here. Oil-based glazing compound needs time to “skin over” before it can be painted. In our dry Colorado climate, this usually takes 7 to 14 days. If you paint too early, the paint will wrinkle or peel as the putty cures underneath.
The Perfect Paint Seal
When you finally paint, don’t stop exactly at the edge of the putty. Instead, let the paint overlap onto the glass by about 1/16 to 1/8 of an inch. This creates a “lap seal” that prevents rainwater from getting behind the putty and rotting the wood. It is one of the most important glass-replacement tips we share with clients.
Troubleshooting Older Wood Sashes and IGUs
Not every window is a simple single-pane fix. If you live in an older home in the Broadmoor or Old Colorado City areas, you might encounter unique challenges.
Mortise and Tenon Frames
Some vintage windows (common in the 1950s) don’t use putty on the outside. Instead, the glass is “captured” inside the wood frame. To fix these, you actually have to disassemble the sash. This involves removing rusted nails from the corners and carefully tapping the rails apart. If this sounds daunting, it often is — and it is one of those moments where bringing in a pro can save the sash from damage.
Insulated Glass Units (IGUs)
Modern wood windows often use double-pane units (IGUs). If you see fogging or moisture between the panes, the seal has failed. Unlike single panes, you cannot “fix” an IGU at home. The entire double-pane unit must be manufactured in a factory with a gas fill (like Argon) and a desiccant seal. We specialize in replacing these units while keeping your original wood frames intact, which is a massive cost-saver compared to full window replacement. If you’re dealing with a foggy unit, our guide to repairing cracked or broken window glass explains the next steps.
Frequently Asked Questions about Window Glass
How long should glazing compound dry before painting?
As mentioned, 7 to 14 days is standard for oil-based compounds. It should feel firm to the touch and have a thin “skin.” If you’re using a water-based or “quick-dry” acrylic glazing, check the manufacturer’s label, as some can be painted in as little as 24 hours. However, for longevity in the Pikes Peak Region, we still recommend traditional oil-based putty.
Can I replace just the glass in a double-pane window?
Technically, no. You must replace the entire Insulated Glass Unit (the two panes and the spacer between them). Measuring these is tricky because you need the exact thickness of the overall unit (usually 1/2″, 5/8″, or 7/8″). If you get it wrong by even 1/16th of an inch, the wood stops won’t fit back on.
What should I do if the wood frame has minor rot?
Don’t panic! If the wood is soft but the structure is still there, use a liquid wood hardener. Once it dries, you can fill the gaps with a two-part wood epoxy, sand it smooth, and prime it. This saves you from having to replace the entire sash.
Conclusion
Learning how to replace a window pane in a wooden frame is a rewarding skill that preserves the historic charm of Colorado Springs homes while keeping your energy bills in check. Whether it was a stray baseball or just decades of Colorado weather, most single-pane repairs are well within the reach of a determined DIYer.
However, if you find yourself staring at a rotted sash, a foggy double-pane window, or a complex historic frame that won’t budge, we are here to help. At Complete Window Care, we pride ourselves on providing cost-effective repairs that extend the life of your existing windows. We serve Colorado Springs and the entire Pikes Peak Region with expert glass, screen, and leak investigation services.
Ready to get that view back to crystal clear? Learn more about our repair services, or give us a call for a consultation!